Mamod Steam Trains Kitson Tram
Mamod Steam Trains Kitson Tram
Couldn't load pickup availability
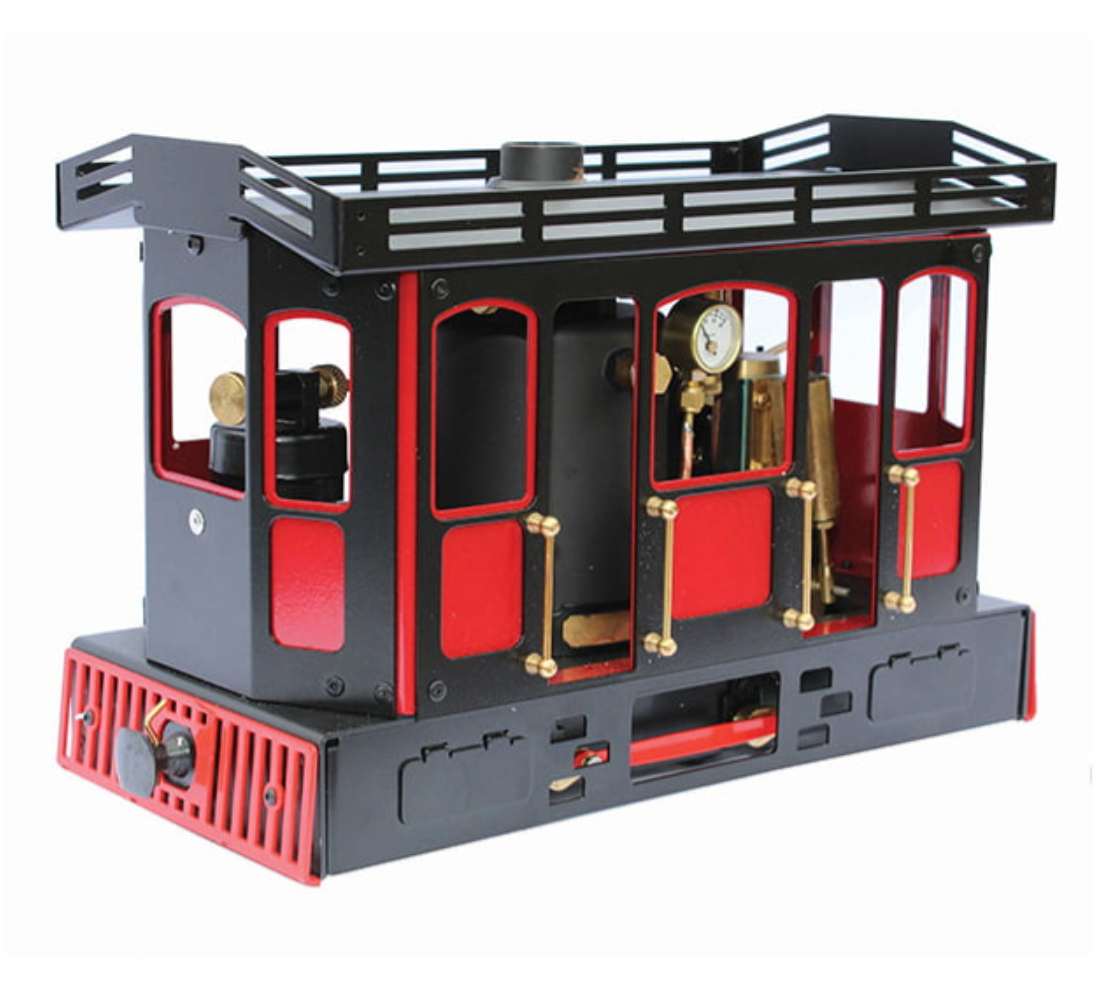
Introducing the Kitson Steam Tram, Kitson manufacturing started in leeds in 1837. Over a century later they had built over 5000 locomotives. In 1876 they started manufacturing trams to a design by W.R.Rowan of copenhagen. In total around 300 steam trams where built.
Mamod’s design is based on the steam tram t28 works no 2402 which can be found in Ferrymead heritage park, australia, or on YouTube.
Specifications:
- Gas fired vertical pot boiler.
- 0-4-0 adjustable outside frame wheels.
- 2 9.5mm diameter oscillating cylinders.
- Geared reduction.
- 50 psi safety valve.
- Water level sight glass with blow down valve.
- Pressure gauge.
- Butane propane gas tank.
- Manual control reversing lever.
- Removable roof.
- Water slide decals.
Dimensions:
- Length over buffers: 280mm
- Width over hand rails: 140mm
- Height: 180mm
The recommended diameter of track for this model is 200 cm.
Waterslide Transfers application
Tools needed:
– Cotton buds or small paint brush
– A small bowl of water
– Gloss varnish for base layer
Applying:
Make sure to have already given your model a light coat of varnish. We advise using a gloss varnish for an even base coat cover before starting to apply decals. This will help by giving a good surface for the decal to attach.
**Make sure the surface is fully dry**
Start by cutting out the decal you wish to apply and submerge it into the water. Leave it to soak to 3-4 seconds (until the top layer is able to slide free from the backing paper)
Take out the decal (while still on the backing paper), position it close to where you wish to place it on the model and, using a cotton bud, slowly slide the decal off the backing onto the area. While the decal is still wet, you will be able to position it by sliding it around using the cotton bud.
Once in position, lightly run the cotton bud or a paintbrush over the surface of the decal (not too hard or it will move) to squeeze out any water from below the decal and to give it a flush attachment to the surface of the model. Once the decal has fully dried, give it another coat of varnish (gloss, matt or satin – which ever you prefer) over the top to seal it to the model.
Finally look at you model, smile and enjoy the fact you’ve really bought it to life.
